Easter Palm Frond Cross

Easter Palm Frond Cross

This is our Day 2 activity for Holy Week. To see the other days, click here

 Easter Jpeg

DAY 2 Palm Frond Crosses

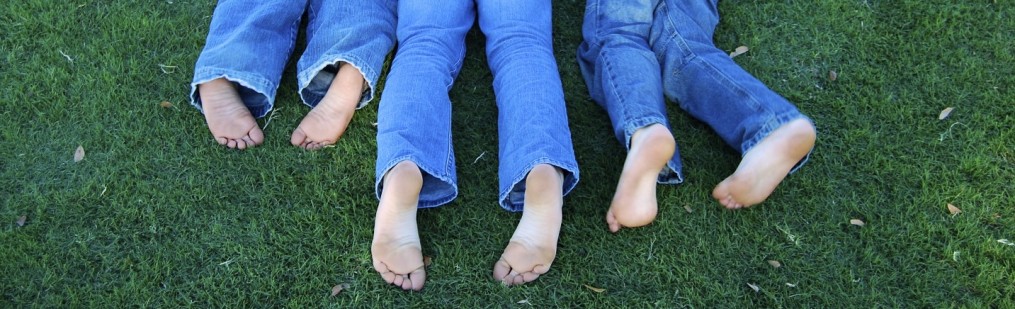
It’s Palm Sunday, a special day in our home because it is the source of our son’s namesake. When I was pregnant with my 3rd, with no agreed upon baby name, Lily came home from school waving a palm frond. She explained that the people waving palm fronds as Christ entered Jeruselum were called “palmers”. I went into labor on Easter and our Palmer was born the next day. Today we are making crosses out of palm fronds. Now I do feel compelled to tell you that Palmer thought the crosses were more fun as guns. Here is a great tutorial:

How to Make aPalm Frond Cross Tutorial:

DSC_0602


Photo Coasters

DIY coasters photo tutorialDSC_0425coasters

Photo Coasters are a great inexpensive but personal gift. It is a similar craft to the Patterned Coasters and Hot Plate tutorial. Here’s what you’ll need:

  • 4 square bathroom tiles from Home Depot. They are about $.17 each. I like the look of a black tile with photographs, but it’s a preference.
  • mod podge and brush
  • 4 photographs
  • sealant spra

Cut your photographs into a square just smaller than the size of the tile.  Brush on a layer of mod podge onto each clean tile. Position and then firmly press the photograph where you want it. Make sure it is perfectly flat with no air bubbles. Then apply another layer of mod podge on top of the photograph. Allow an hour to dry before adding another layer of mod podge. Not waiting an hour can cause stickiness and bubbles so try to be patience. Then add a 3rd layer of mod podge. When that is dry, take them outside and spray on a sealant which will protect them from the drink. You can package them cute and you have a great personalized gift.

Patterned Coasters and Hot Plate tutorial

coastersPatterned Coasters are similar to the Photo Coaster Tutorial except scrapbooking paper is used instead of photographs. We wanted to add pop of color, so I cut up a Lilly Pulitzer shopping bag for paper.

Here’s what you’ll need:

  • 4 square bathroom tiles from Home Depot. They are about $.17 each. I like the look of a black tile with photographs, but it’s a preference.
  • mod podge and brushIMG_6236
  • scrapbooking paper, wrapping paper, or even shopping bags
  • sealant spra

Cut your paper into a square just smaller than the size of the tile.  Brush on a layer of mod podge onto each clean tile. Position and then firmly press the paper square where you want it. Make sure it is perfectly flat with no air bub

bles. Then apply another layer of mod podge on top of the paper. Allow an hour to dry before adding another layer of mod podge. Not waiting an hour can cause stickiness and bubbles so try to be patience. Then add a 3rd layer of mod podge. When that is dry, take them outside and spray on a sealant which will protect them from the drink. You can package them cute and you have a great personalized gift.

The Hot Plate below is created the same way as the coasters. The only difference is the size of the tile you purchase from Home Depot. This was a bathroom tile for about $.80.
DSC_0339

Sidewalk Art

My daughter was recently at a friend’s house for a slumber party. When I picked her up, I was blown away by what they had created. They had taken sidewalk chalk and completely covered the brick driveway. It was extremely cool looking.

Such a great activity for kids of all ages, that takes up a lot of time, and has a major cool factor. I’m definitely remembering this for summertime.

Craft with chalkChalk ideas

Cake Pop Display

DSC_0787

A cute way to display cake pops 

Cake pops are tricky to display. To stand them up you need styrofoam but it’s just not that cute. One idea is to wrap the styrofoam with your favorite wrapping paper.  If you wrap each one individually in little bags from Michaels, you have a great Break Room treat.

Christmas Topiary

DSC_0455

To make a Christmas Topiary:

  • 2 bag of peppermints
  • styrofoam ball (from Michaels)
  • Hot glue gun
  • Thick wood stick (Michaels)
  • Metal tin or container
  • green foam brick used for flower arranging (from Michael’s)
  • sealant spray

The most time consuming part of this craft is unwrapping each mint. Once you have completed this step, begin hot gluing each mint onto the Styrofoam ball. You could spray paint the foam ball red first to peep through, but I like white. Keep a one inch portion without a mint so that you have room to attach it to the stick. I used a Sealant Spray to keep it from being sticky. This step also helped enforce the “No licking the topiary” rule. Then simply put one end of the wooden stick into the topiary. I would use a thicker one than the one pictured because the topiary was very heavy. Trim the green brick to fit into your container. Secure the other side of the wood stick into green brick. Hot glue around sides. Decorate it with a bow and green shredded paper. Now you have a cute centerpiece.

“My top 65 Memories for your 65th birthday”

IMG_5275IMG_5274What do you get a parent when they have a milestone birthday? My father was turning 65 and nothing seemed right. What gift could possibly communicate how much he means to me? There isn’t one. When I began reminiscing of him in my life, I started laughing and then crying at my memories. So I started writing them down and before you know it, I had 65 of my favorite memories. They ranged from “When you would take us to the grocery store for junk food trips” to “Our fishing trip to the Bahamas”.  I typed them, printed them on a really thick cardstock, and then cut them into stripes. I bought a neat leather and wood box from TJ Maxx and stuck them inside. After his birthday dinner, we went around and took turns reading them. It lasted hours as we reminisced together.