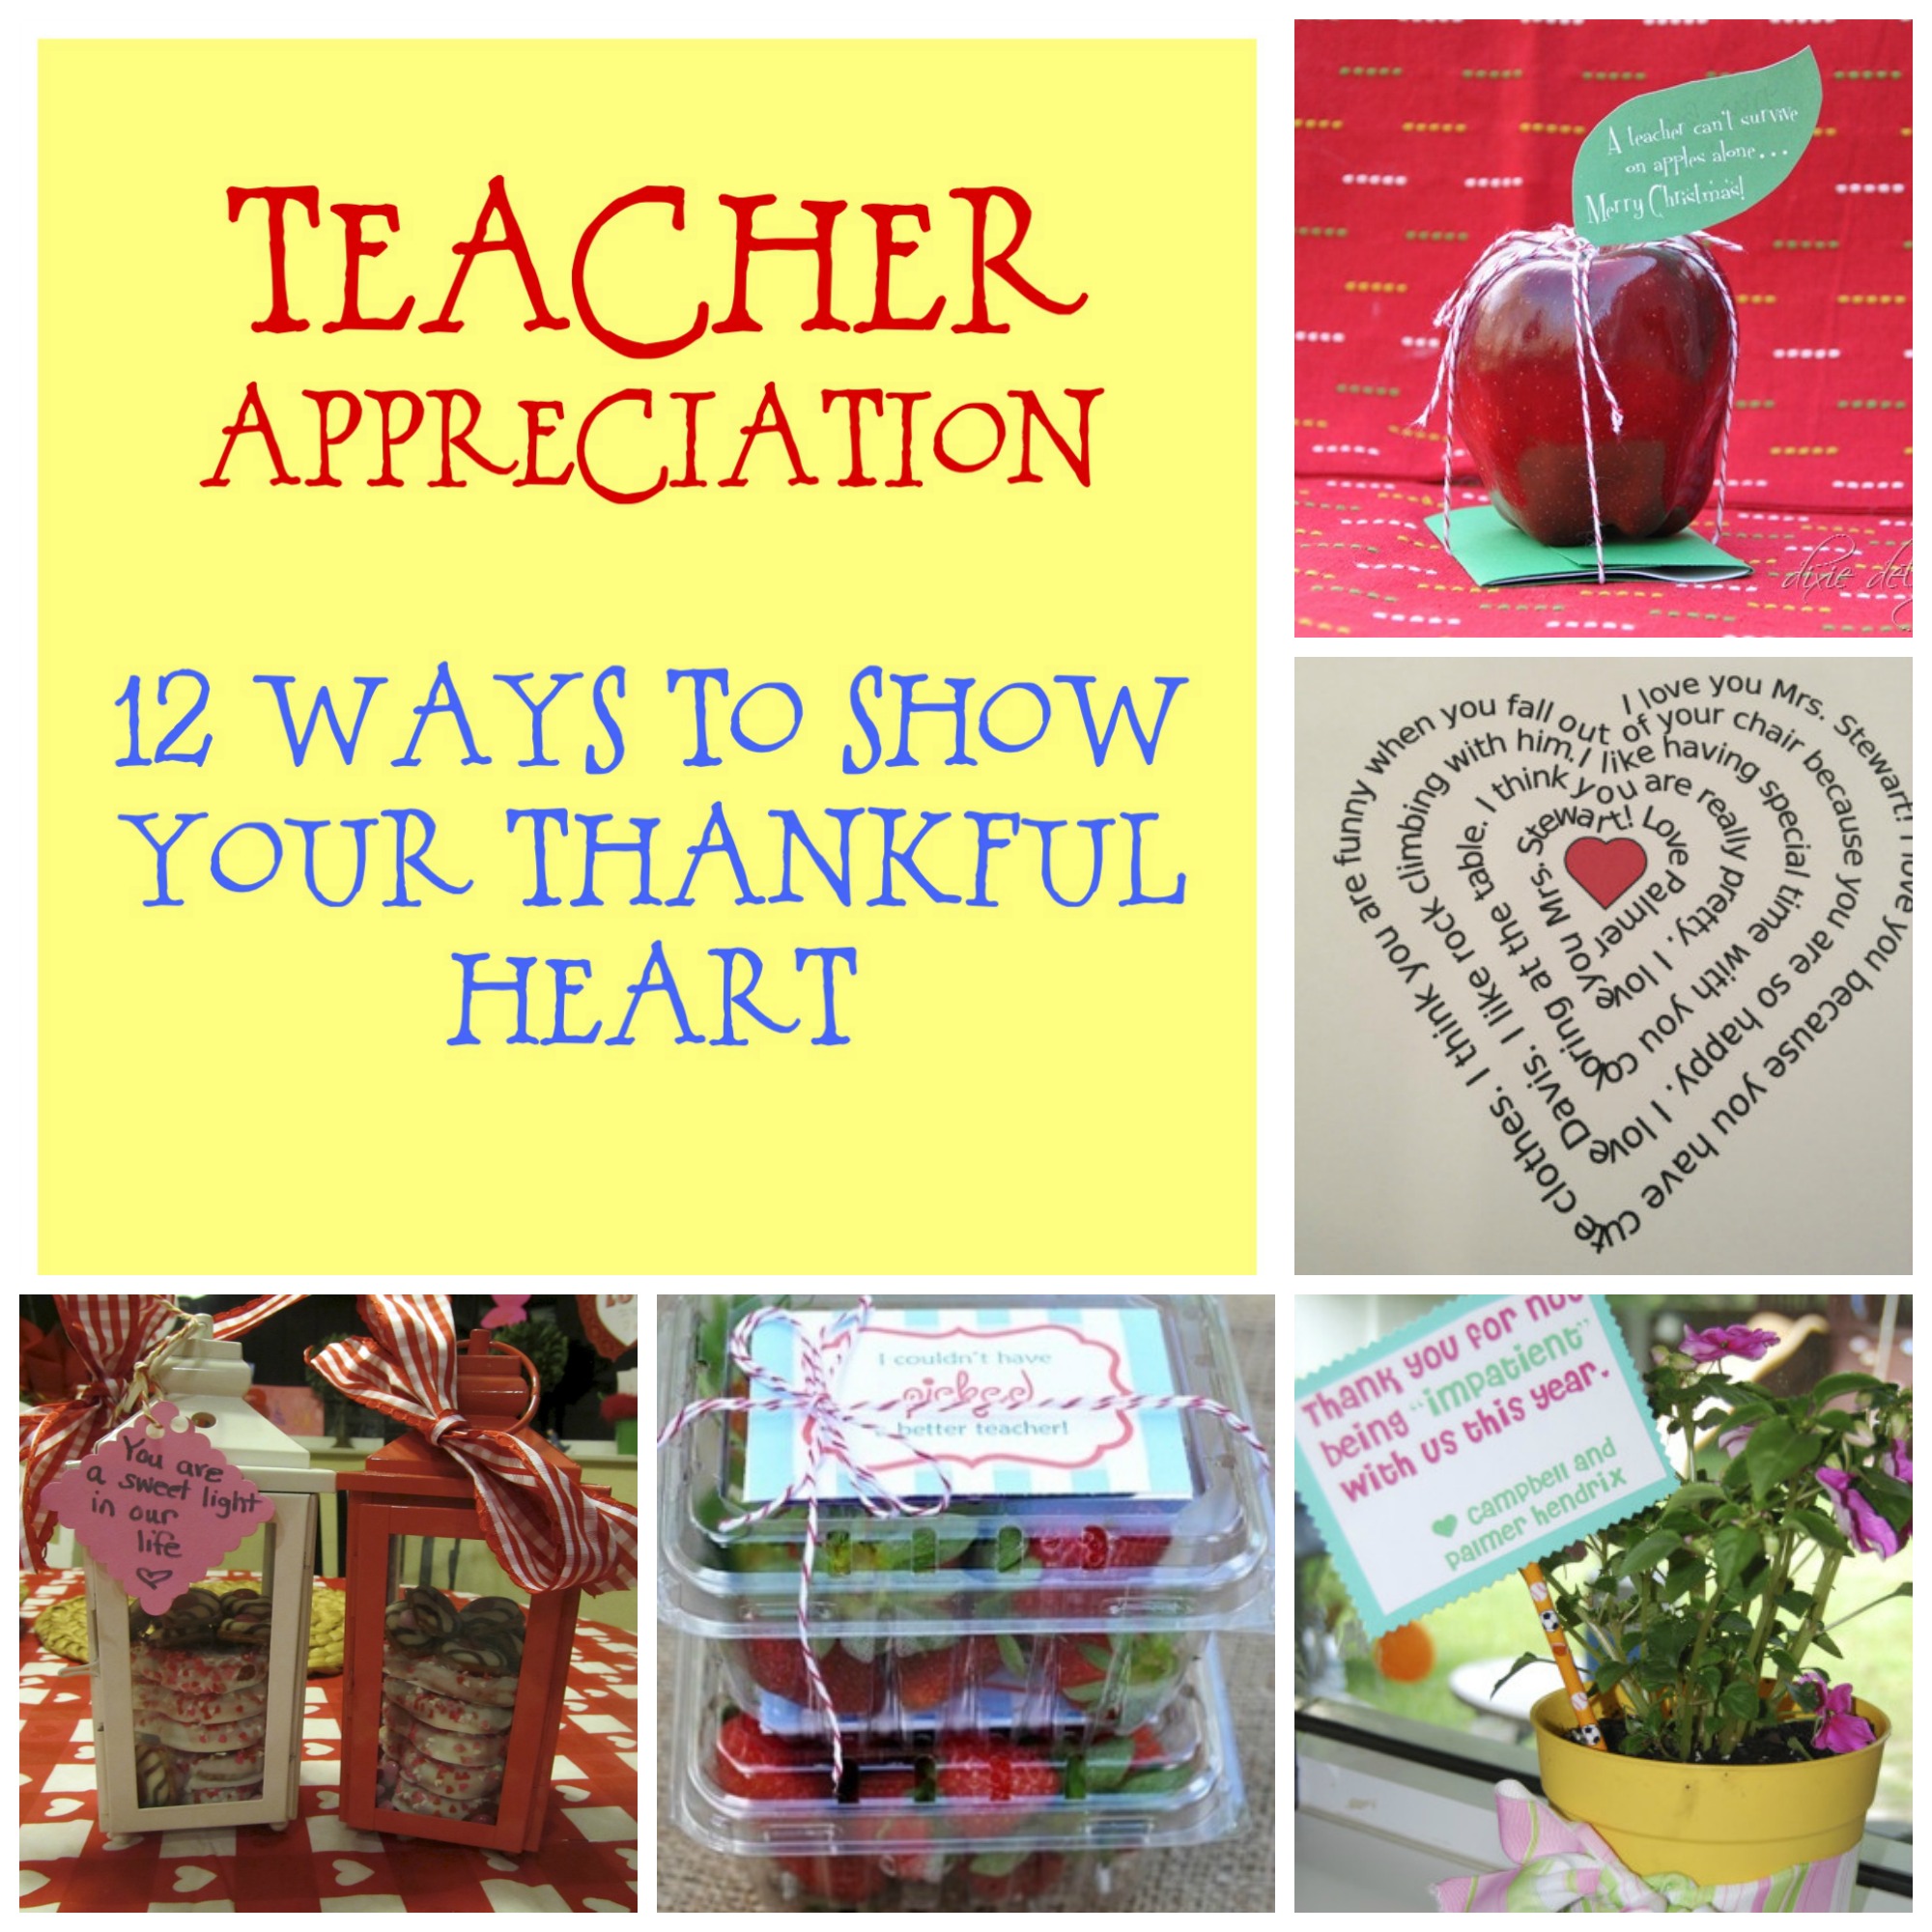

Impatient Plant – Plant a simple impantien into a bright colored plastic pot. Tape a card onto a pencil and stick in dirt. Tie a ribbon. Cute and witty.
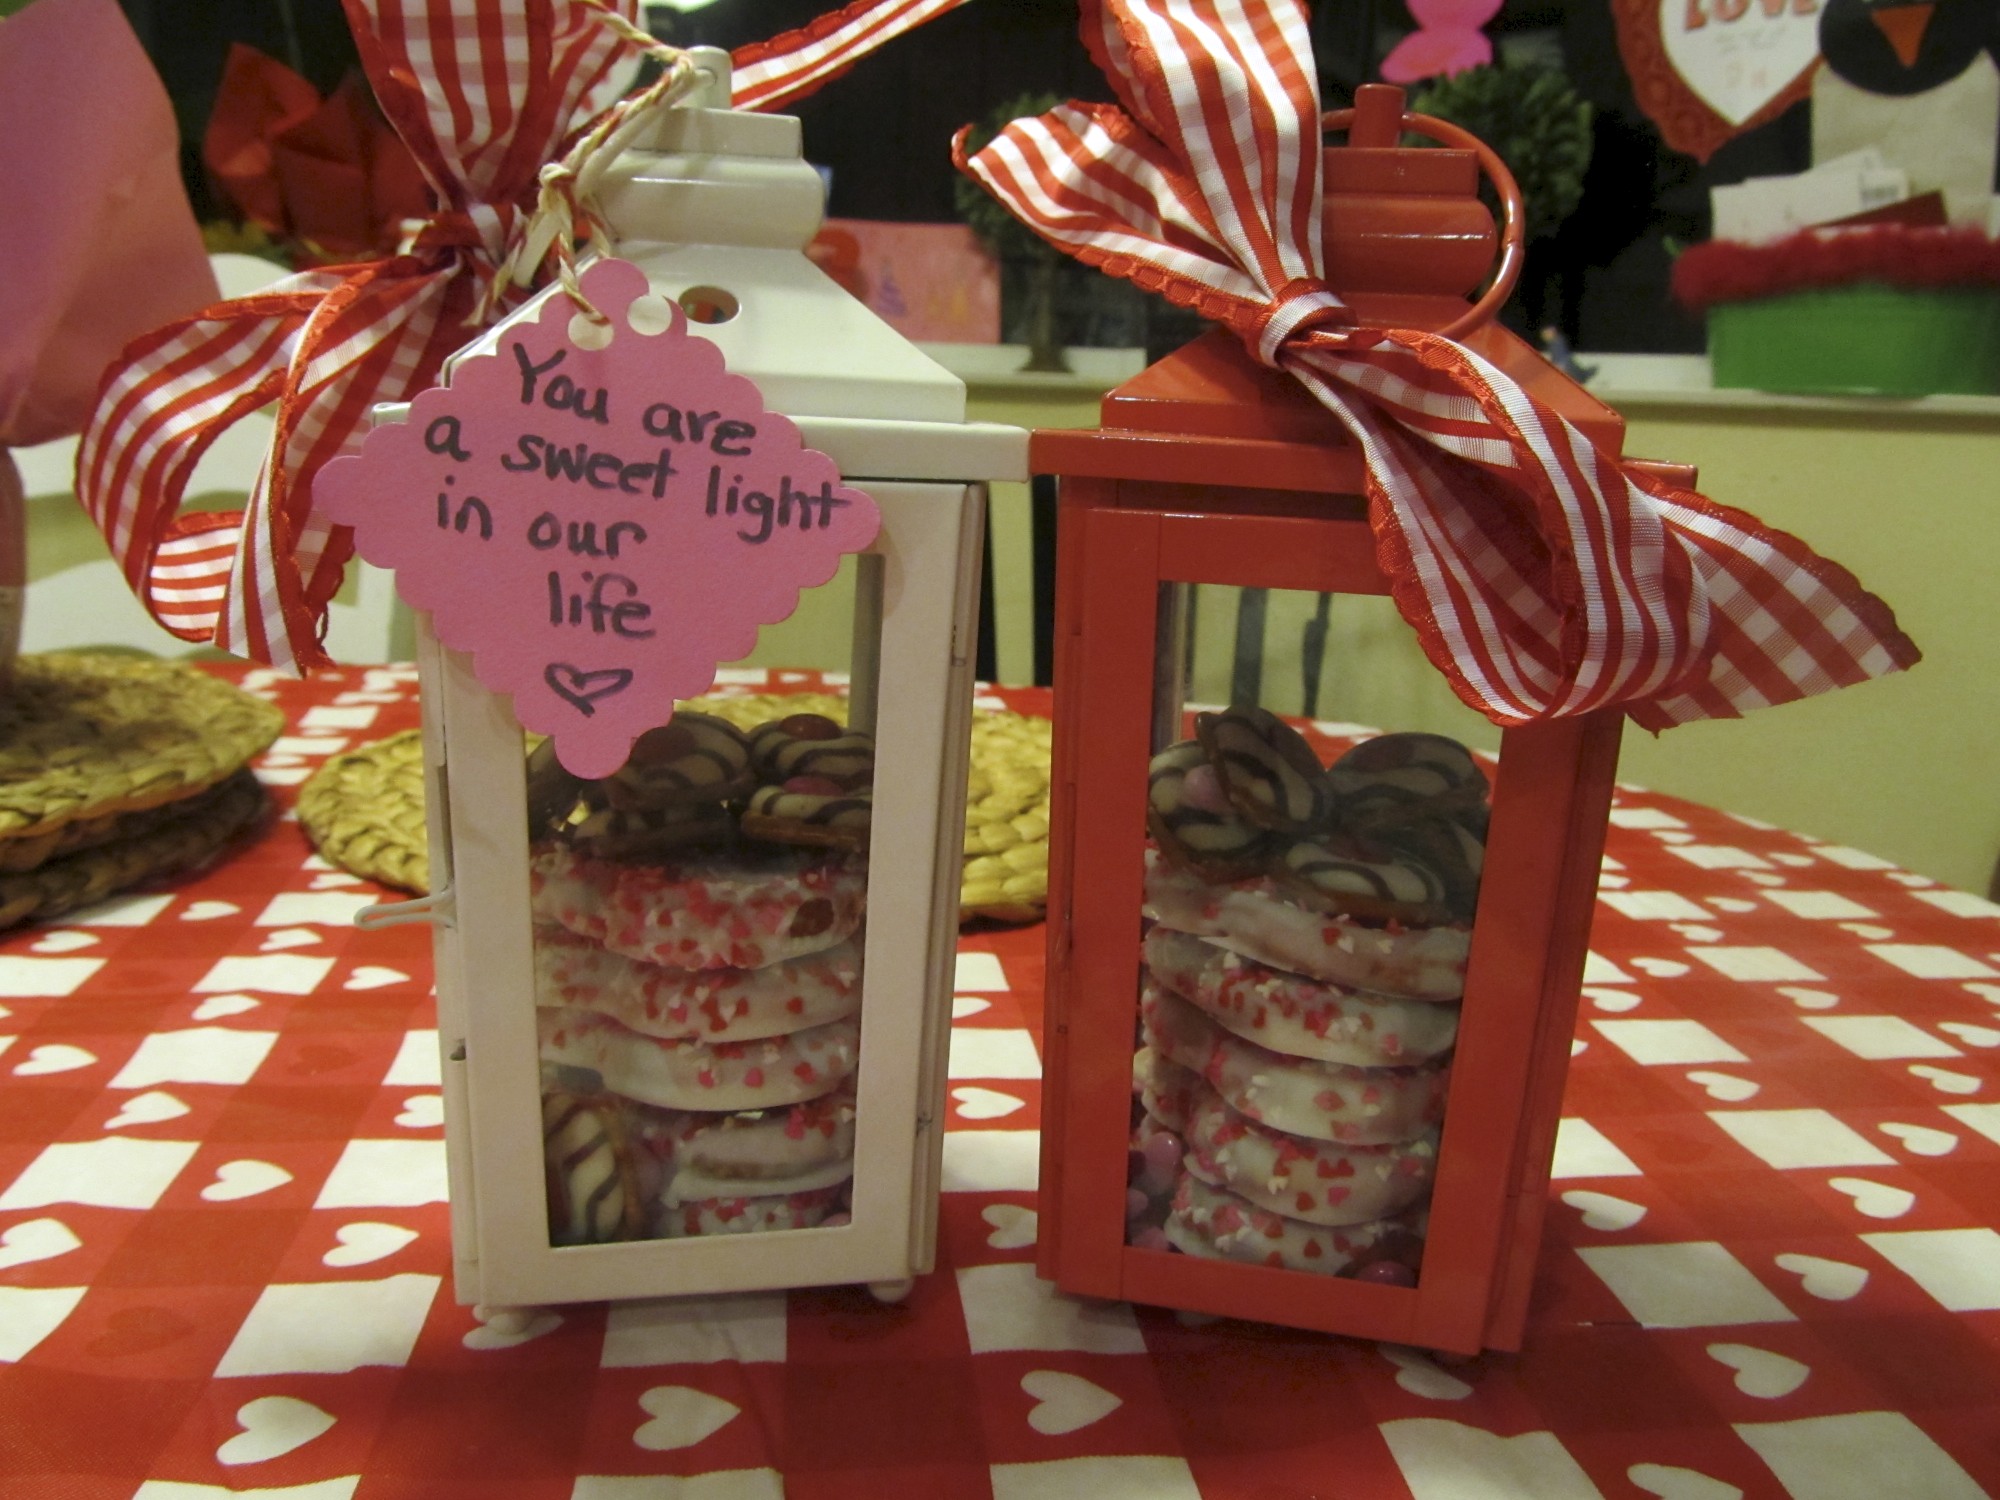 Lantern – We bought a lantern from Target and fill with chocolate covered pretzels. Attach a card with a reference to the teacher being a “light” in your life.
 Personalized Starbucks treats – I bought cups from the dollar store and a package of chocolate covered shortbread from costco. I personalized these labels with each teacher’s name from this link. Printed them on sticker paper, cut and attached. Great way to start any day!
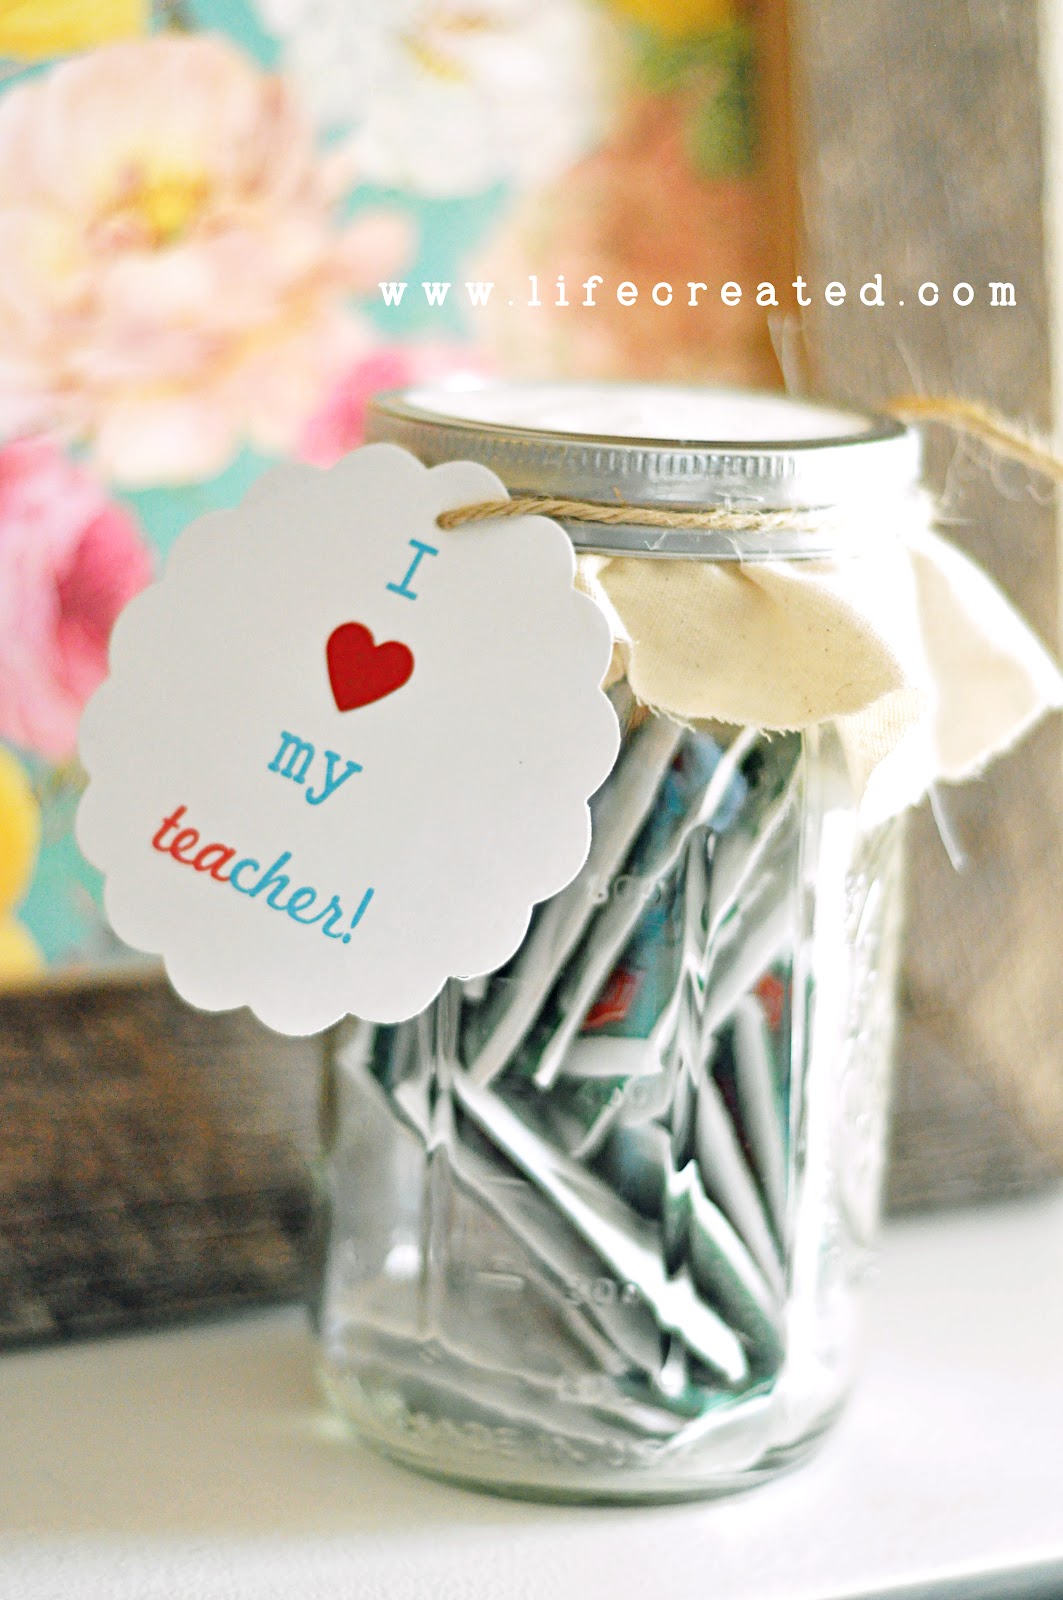 Tea Jar – Fill a canister with tea and then print this label from www.lifecreated.com
 Personalized Heart Poem – I asked my child what they love about their teacher, typed in his reply on this link , and it generates a heart shaped card. Print and give. You can never go wrong with a child’s sweet words.
 Hand Picked strawberries – with a cute tag “I couldn’t have picked a better teacher”(from Dixie Delights).

photo from “Hello from the Natos”
Homemade Cookie Dough – Wrapped adorably in parchment paper, a favorite cookie dough has always been a well received gift. You can write a recipe directly on the parchment or print it out. You can also print the label from Nato’s photo from this link. 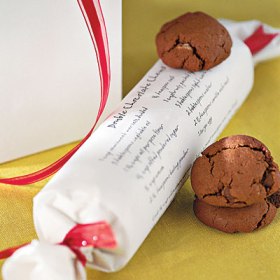
 Munchins – Cute idea from the Happy Home Fairy to bring in Munchkins with note. Click here to print their note.
 “Orange you glad it’s summer” Printable – I found the printable over at Coley’s Corner and you can attach it to pretty much anything. Thanks to them for allowing us to use it.
 Gift Card – “A teacher can’t survive on apples alone…” – I saw this months ago as a Christmas gift but think it’d be just as cute for a year end gift.
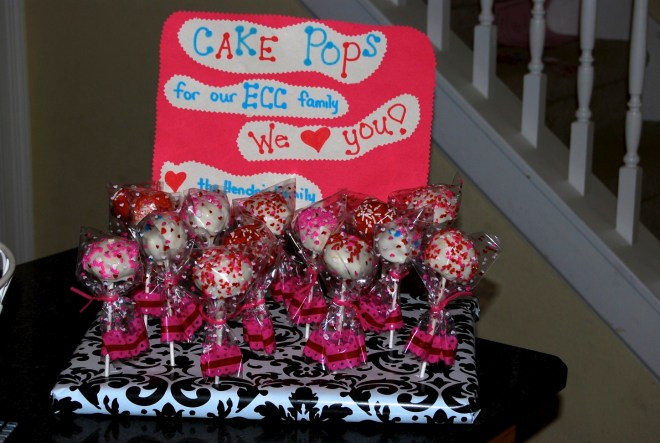
Cake Pop Stand – after packaging each cake pop in plastic bags from Michaels, we wrapped a styrofoam rectangle in wrapping paper, stuck them in, and made a sign. Great Grab and Go treat when lots of teachers are involved.
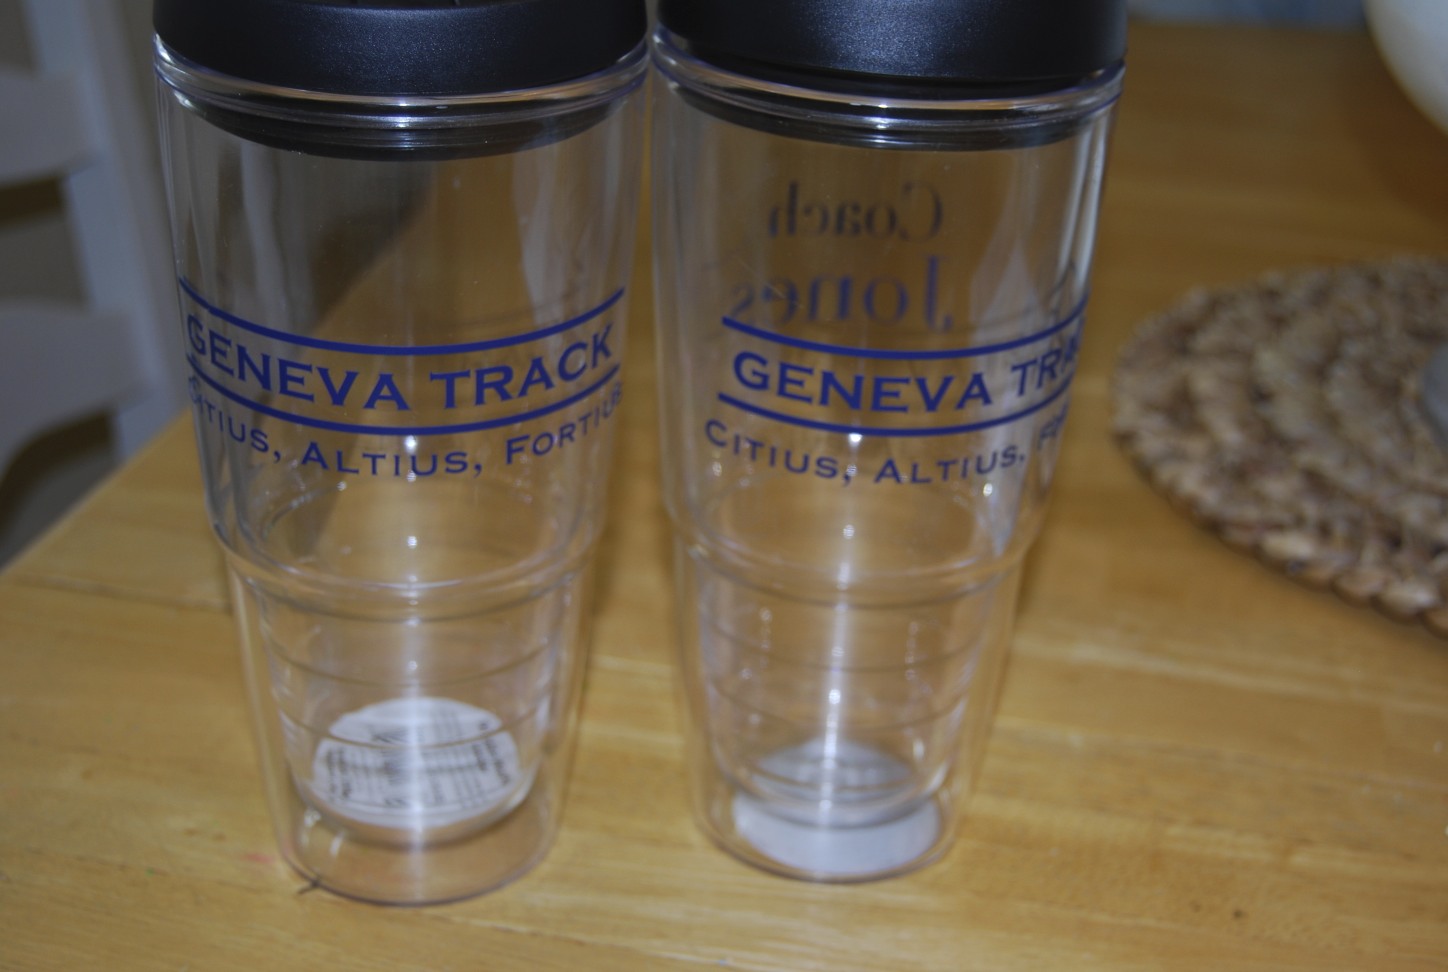
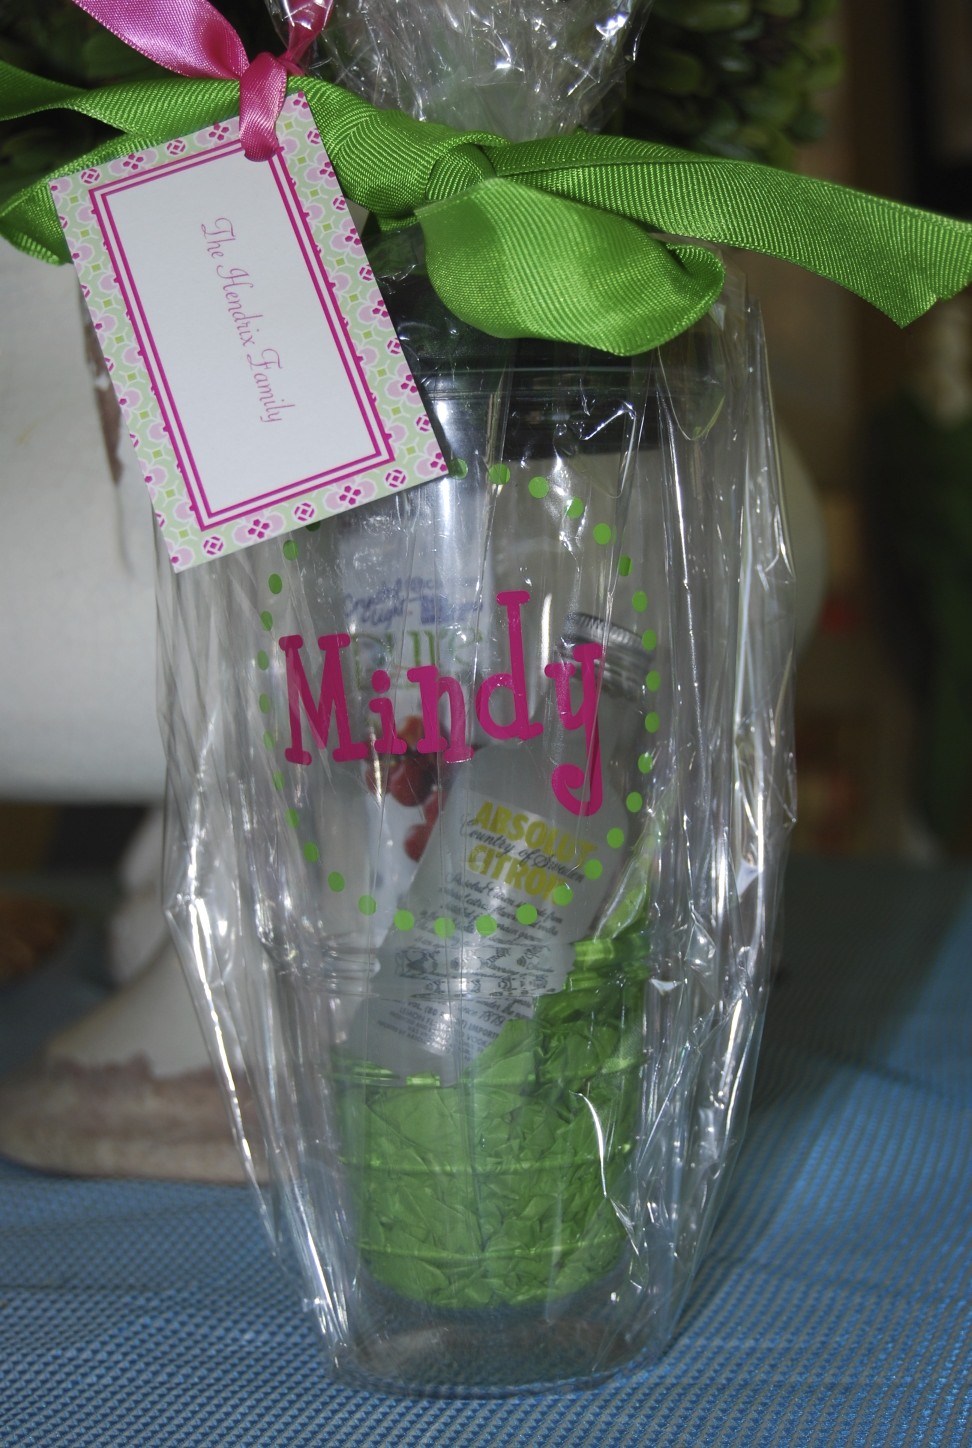

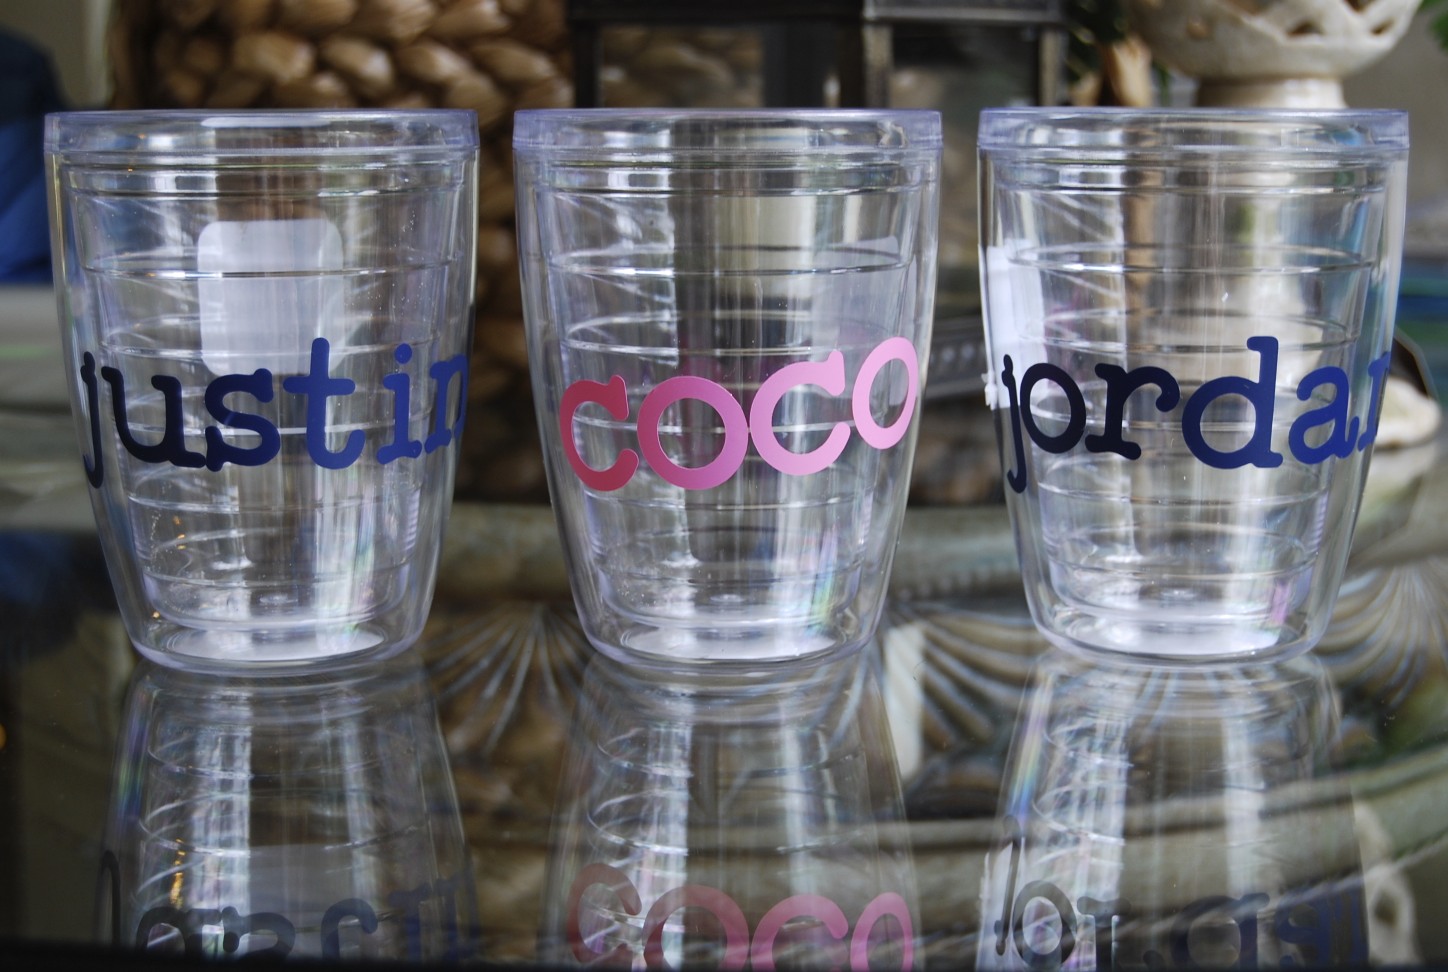
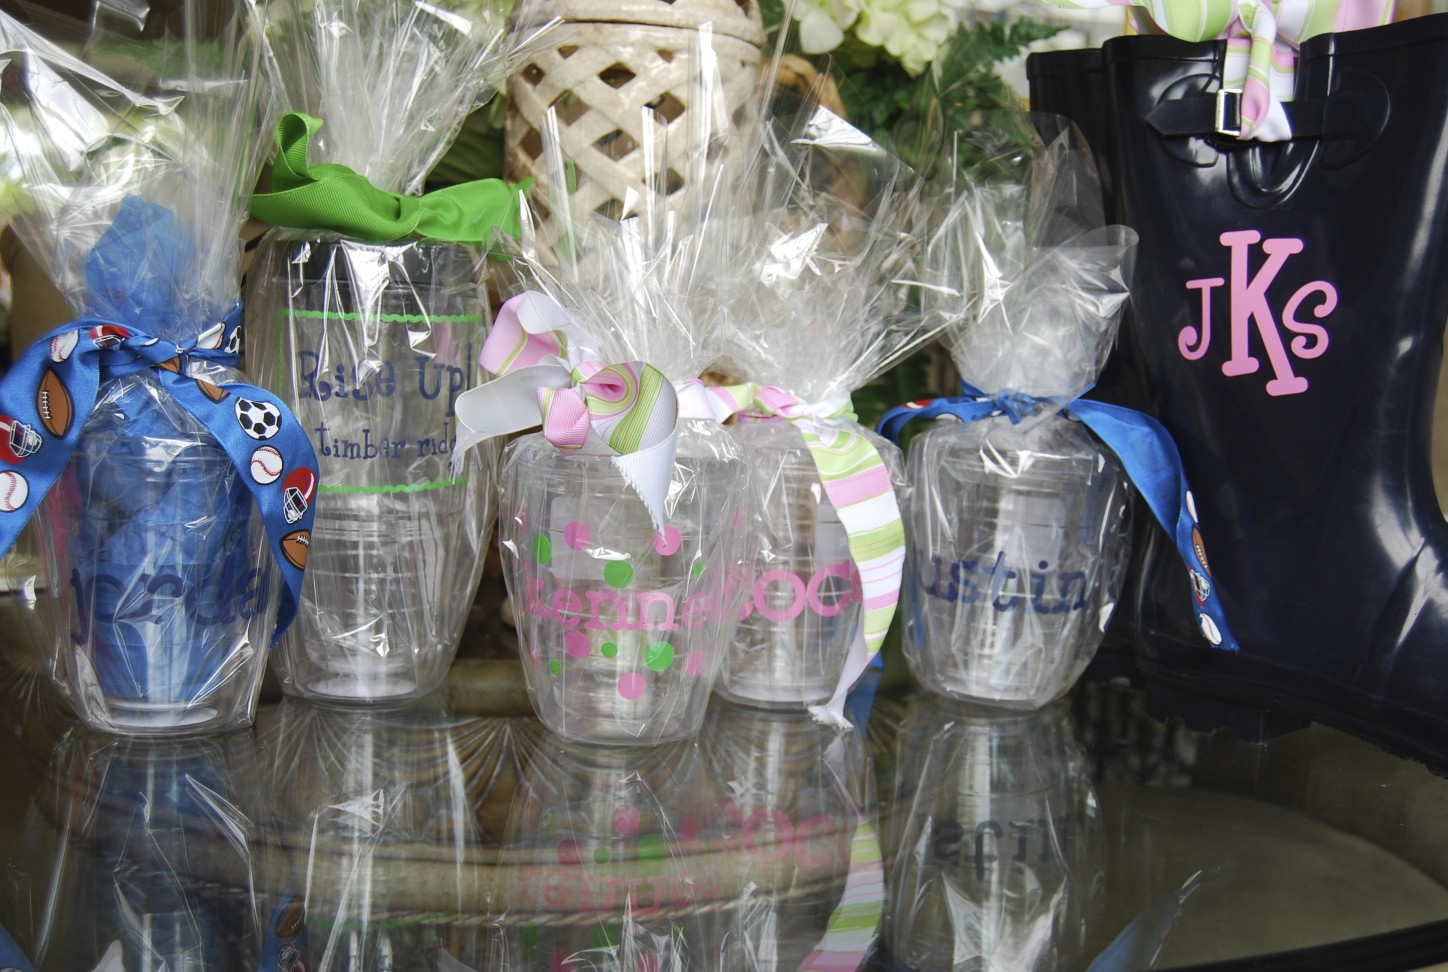
Personalized Gifts – These ideas are easiest if you have a die cutter machine. Here are some ways we personalized an inexpensive item which are just so much fun to receive.
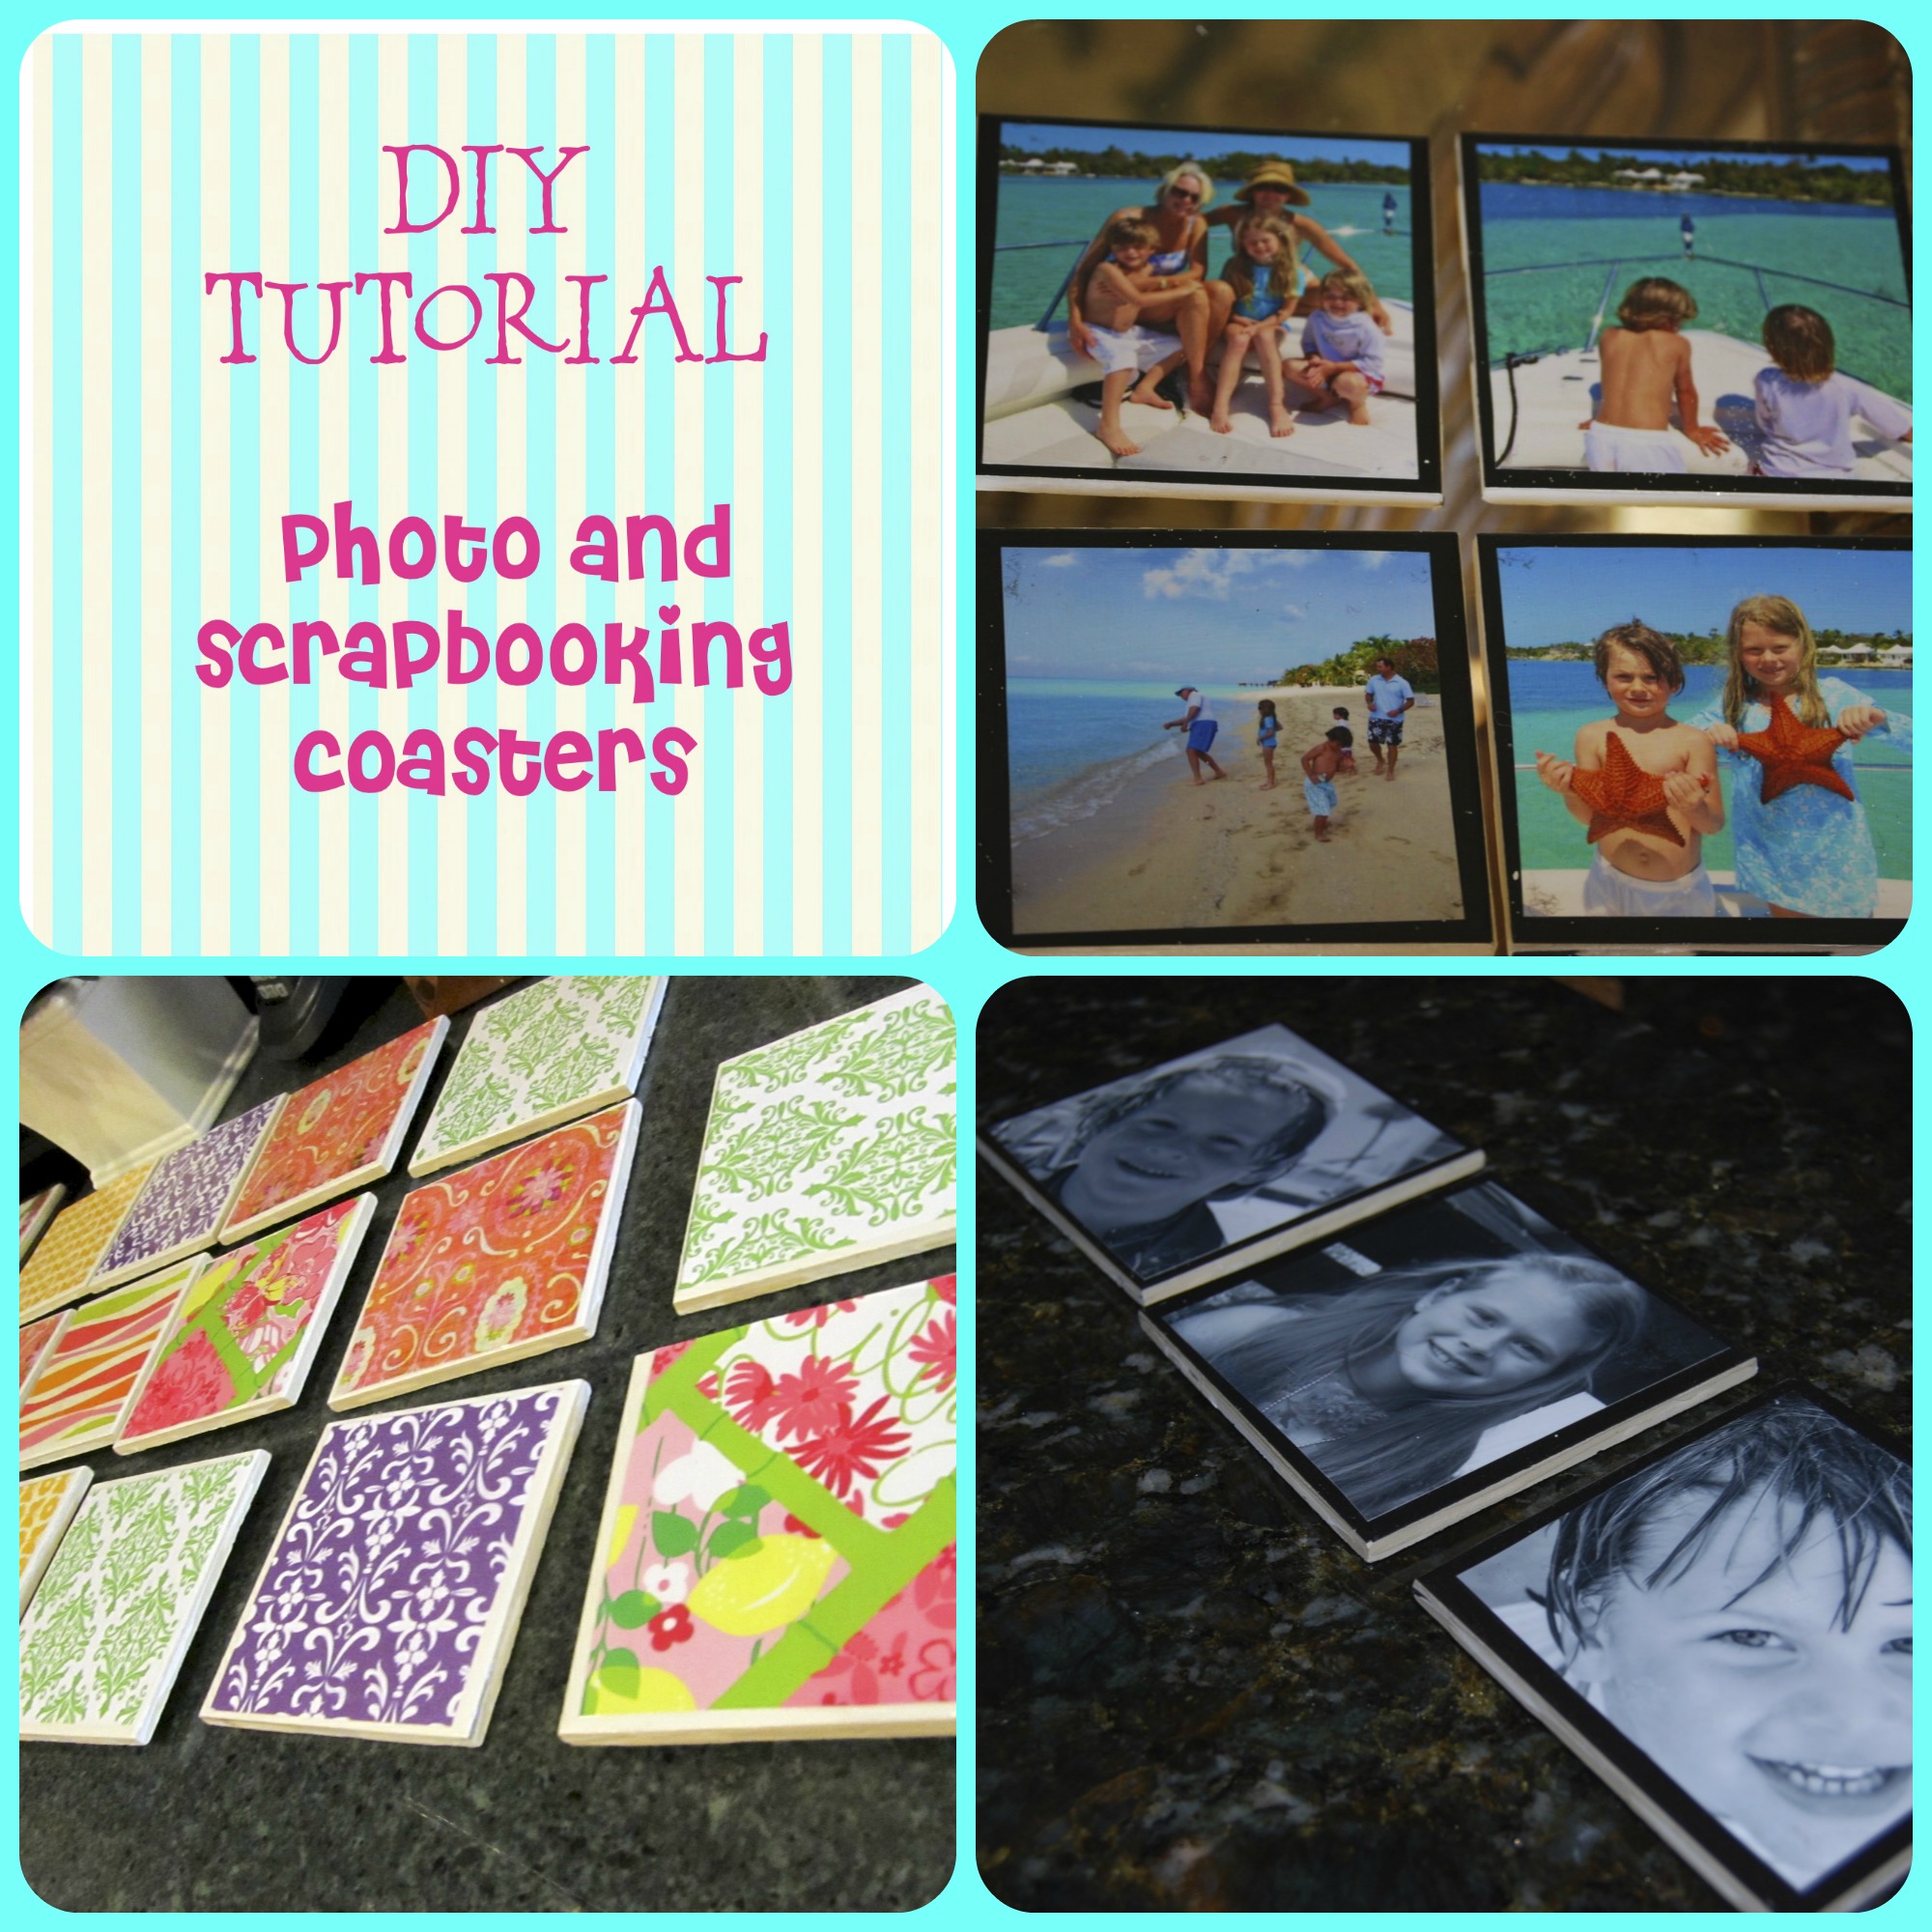
 tutorial coming soon
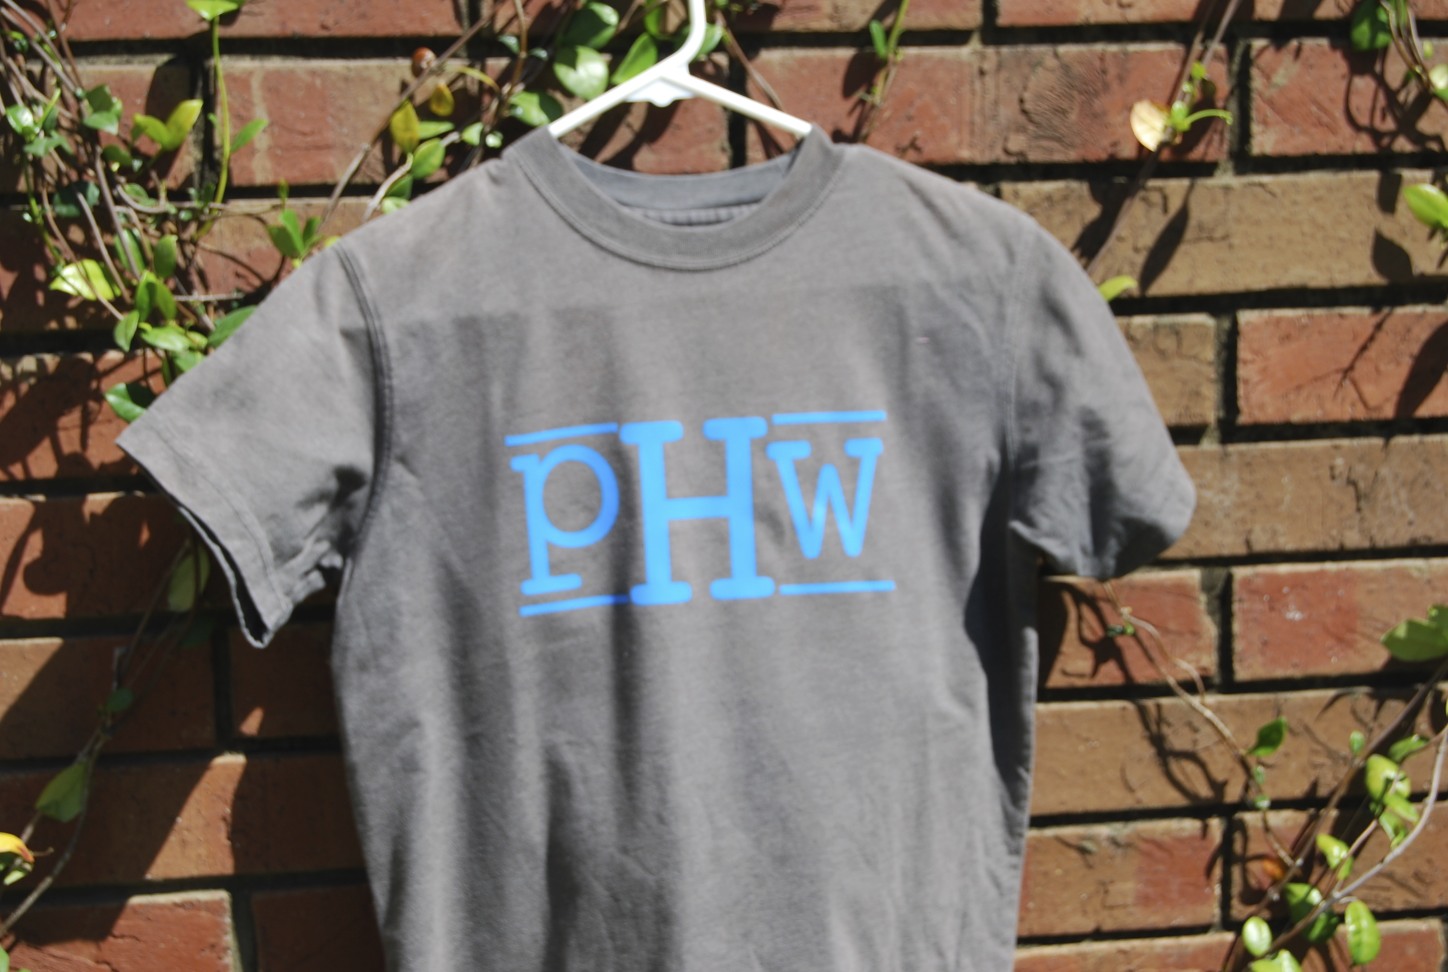


 What do you get a parent when they have a milestone birthday? My father was turning 65 and nothing seemed right. What gift could possibly communicate how much he means to me? There isn’t one. When I began reminiscing of him in my life, I started laughing and then crying at my memories. So I started writing them down and before you know it, I had 65 of my favorite memories. They ranged from “When you would take us to the grocery store for junk food trips” to “Our fishing trip to the Bahamas”. I typed them, printed them on a really thick cardstock, and then cut them into stripes. I bought a neat leather and wood box from TJ Maxx and stuck them inside. After his birthday dinner, we went around and took turns reading them. It lasted hours as we reminisced together.