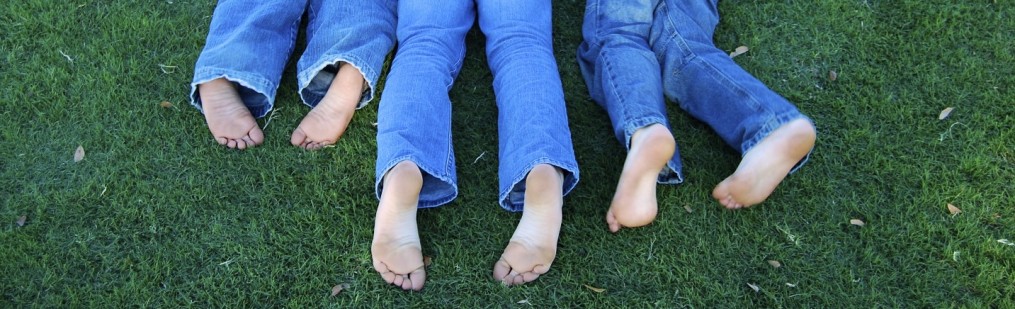
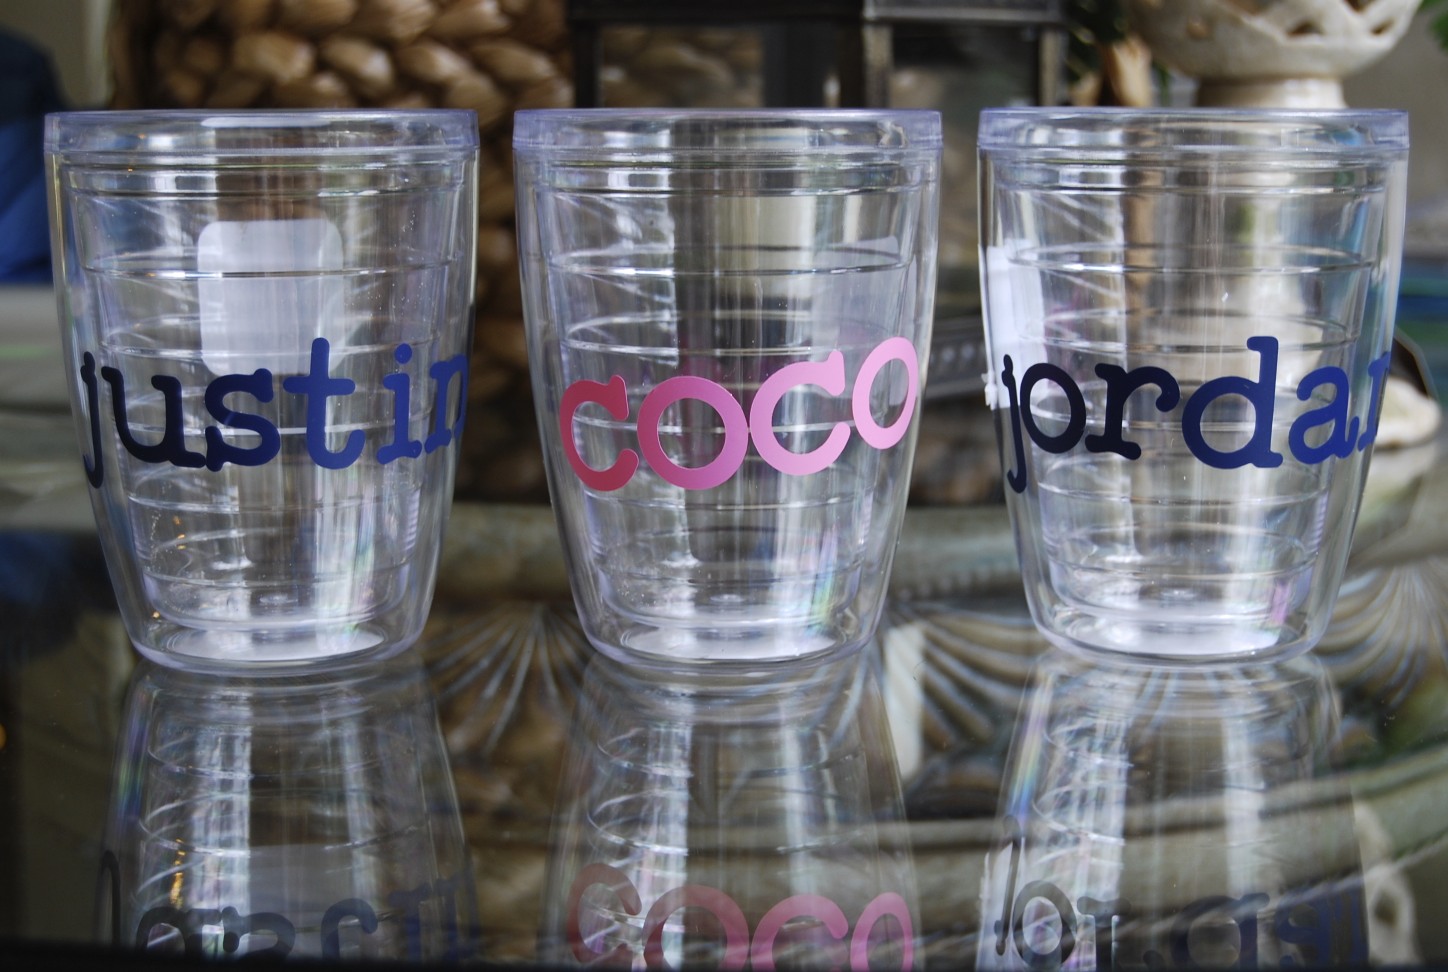
Cups! Cups! and more Cups! That’s what I was cleaning all day long. There are only 5 of us yet 10 cups on the counter. My children also had the habit of drinking from any cup on the counter. So if one child had a cold, we quickly passed it around. That’s when I had the idea of everybody has ONE cup that they are allowed to use. If it’s next to your bed and you’re thirsty, go get it. This simple idea was so easy to implement and drastically reduced the amount of washing I was doing. Here’s how I made these:
Here is how I made these:
- cups from Walmart
- Waterproof adhesive vinyl
- transfer paper
- credit card
- CUT letters from vinyl – I have a silhouette cutting machine so I designed the names on that software and then cut the letters from that machine. If you do not have a machine, it is a bit harder. You can print a word document on thick cardstock, cut each letter out to use a template, trace the letters onto the vinyl and cut out letters.
- Transfer Paper- Stick the transfer tape on the top of your cut out name. Use a credit card to smooth it out and make it stick.
- Remove the backing to the vinyl (your name will now be held together on the transfer paper.
- Position where you want the name on the cup. Press firmly down and rub credit card to make sure it sticks. You really want to rub harder during this step to make sure it does not peel off later (If some of the vinyl does not transfer to the cup, lay the transfer tape back down and rub again).
- You can handwash them or put them in the top section of your dishwasher
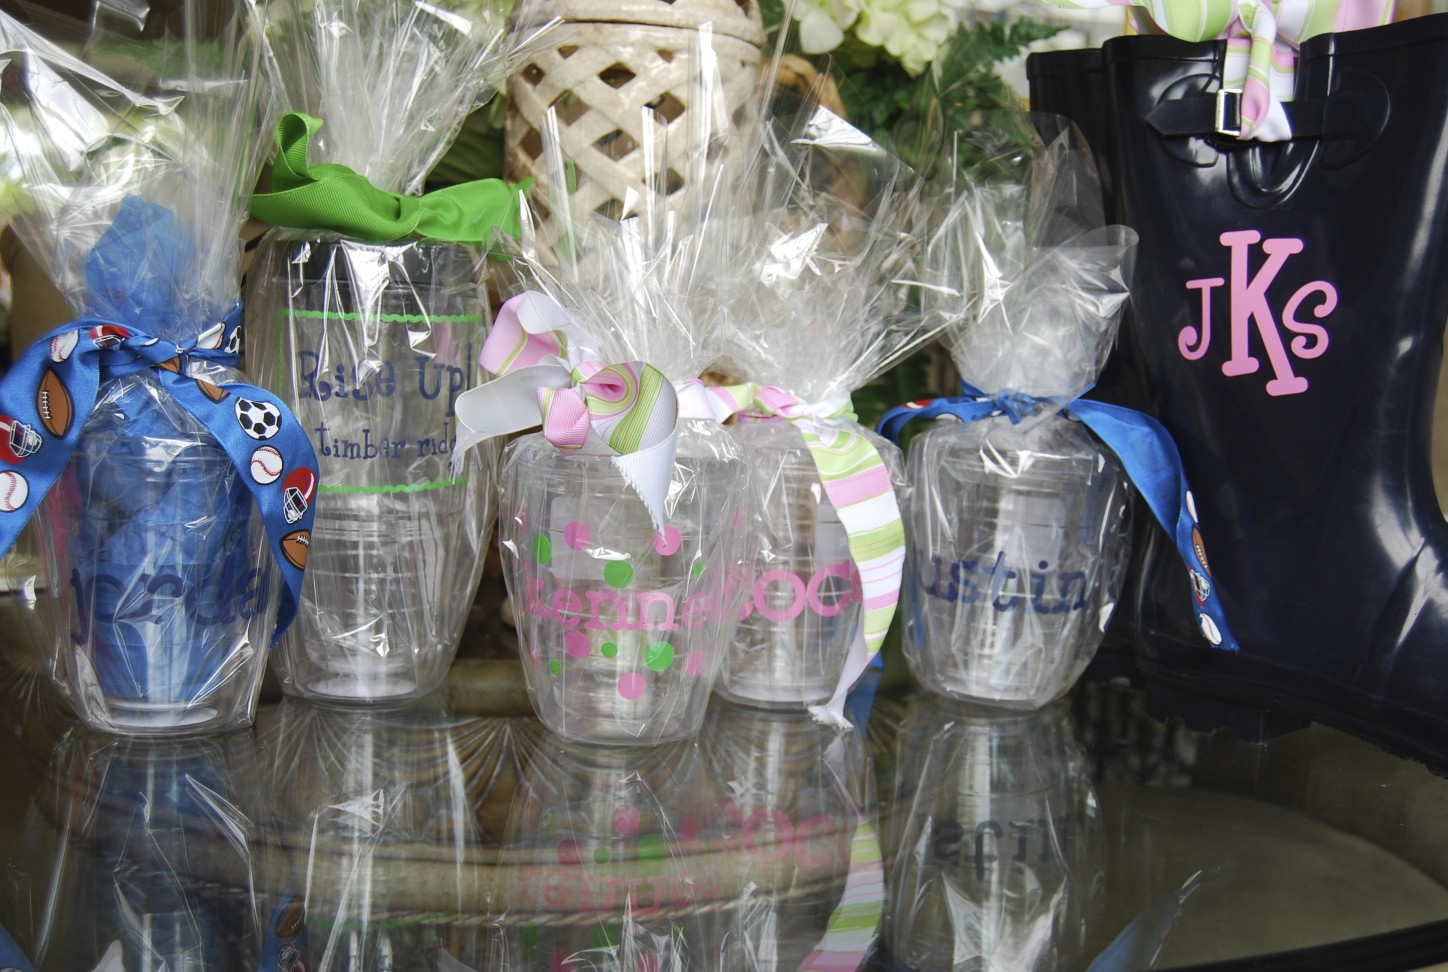
 tutorial coming soon


 What do you get a parent when they have a milestone birthday? My father was turning 65 and nothing seemed right. What gift could possibly communicate how much he means to me? There isn’t one. When I began reminiscing of him in my life, I started laughing and then crying at my memories. So I started writing them down and before you know it, I had 65 of my favorite memories. They ranged from “When you would take us to the grocery store for junk food trips” to “Our fishing trip to the Bahamas”. I typed them, printed them on a really thick cardstock, and then cut them into stripes. I bought a neat leather and wood box from TJ Maxx and stuck them inside. After his birthday dinner, we went around and took turns reading them. It lasted hours as we reminisced together.